Step by Step
For Those About to Step Forth
Some Good Advice

Making a Canoe Paddle
Can You Do It | Choosing a Design | Ordering Plans | Things to Know | A Traditional Finish
INTRODUCTION
This page isn’t intended to be a “how-to” as there are plenty of good tutorials on the internet. Rather, what I’d like to do is offer a list of things one might wish to think about before embarking on their paddle making adventure, and some brief thoughts about each.
In the next few paragraphs I’ll lay out those thoughts and provide a link or two where appropriate. The steps we’ll be discussing are:
- Choosing a Design
- Selecting Materials
- Gathering Your Tools
- Budgeting Your Time
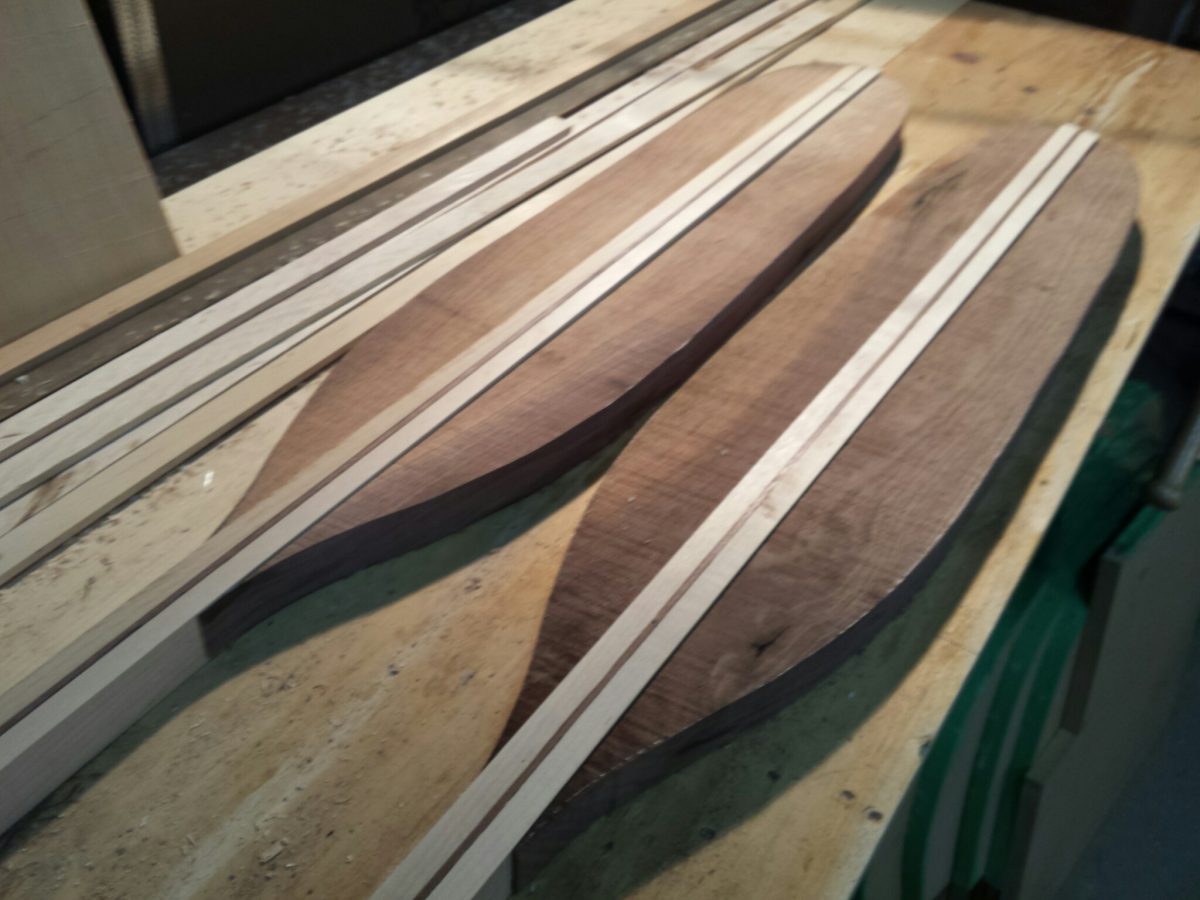
- Preparing the Blank
- Cutting the Paddle Outline
- Shaping the Shaft
- Shaping the Blade
- Shaping the Grip
- Fine Tuning
- Preparing for the Finish
- Fiber-glassing or Not
- Applying a Traditional Finish
- Applying a Modern Finish
So let’s have at it …
CHOOSING a DESIGN
There is no shortage of paddle designs available but, for all the variety there is they all do pretty much the same thing. They get you from here to there.
For simplicity sake, I’m going to suggest that there are three classic blade styles and everything else is variant of those: A Guide Paddle, An Ottertail, and a Beavertail.

What I would also suggest is that what might best suit one paddler might not suit another one at all.
For this reason I’ve written a comprehensive guide to choosing a design. For those with an interest in the long and varied history of canoe paddles and the variants there-in I’d suggest having a thorough go at the second link.
SELECTING MATERIALS
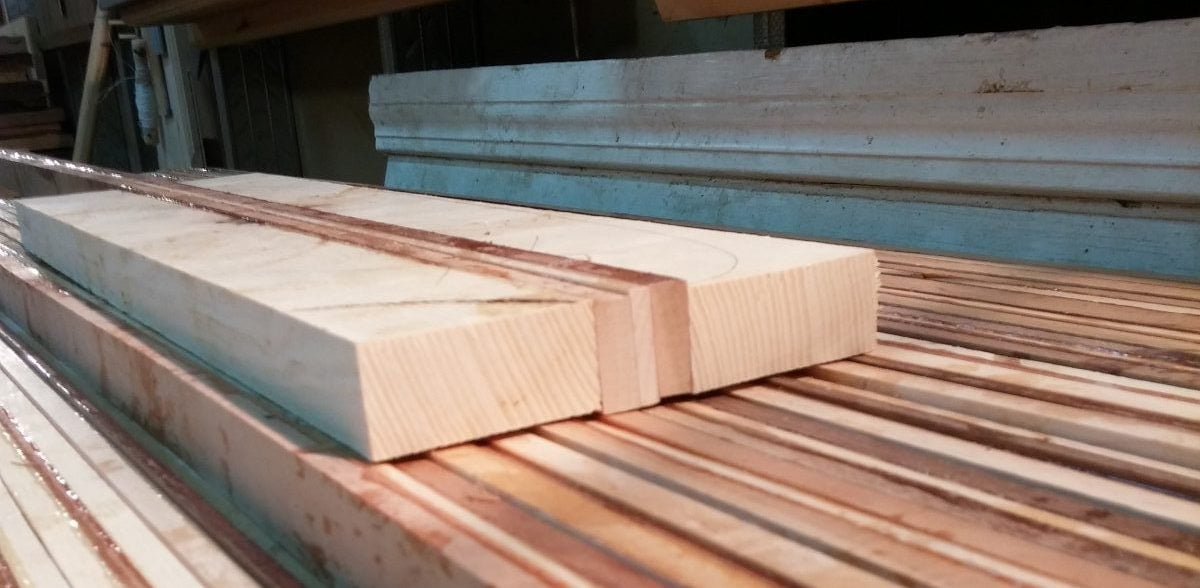
Canoe paddles can be made from any wide variety of woods, or composite materials. For our purpose the most important decision a builder will have to make at the outset is whether to laminate their paddle blank or carve their paddle from a solid piece of wood.
Free Ranger Canoe in the Netherlands has published a good series of pictures depicting a laminated paddle build.
Laminating a paddle has three advantages:
- It requires less wood which is one of the reasons almost all commercial paddle makers of note use laminated blanks.
- The paddle is more stable and be less likely to warp.
- The builder has the option to introduce patterns into the blade, shaft and grip.
On the other hand, building from a solid blank is a time-honored tradition and if you’re of the sort, there is nothing more transcendent than whittling away at a solid piece of wood and creating a thing of beauty.

GATHERING YOUR TOOLS
A paddle maker will have to choose what style of builder they wish to be.
A traditionalist will use naught more than a saw to cut the blank, a draw knife, a spoke shave, and some sandpaper (or cabinet scrapper).

A tool junkie with a fully kitted shop, on the other hand may end up using a full compliment of clamps, a planer, a band saw, a router, a belt sander, a random orbit sander, and a buffer.
Which ever the case, don’t let your lack of tools slow you down. I’d say the average lad or lassie might want to assemble the following:
- clamps to laminate the bits and pieces
- a jig saw to cut the blank
- a belt sander to clean up the blank and do rough shaping
- a block plane to help with the shaping
- a random orbit sander to fine tune and prep for finish
Some might say that it wouldn’t hurt to have a router (or laminate trimmer) to get a headstart on the shaft, shoulders and grip, but a spokeshave or block-plan can take care of that handily enough.
BUDGETING YOUR TIME
Can you make a paddle in an afternoon?
Well I suppose, but unless you had some external motivation I wouldn’t know why you might wish to.
I’d say a reasonable amount of time to dedicate would be a weekend plus a few minutes each evening to apply the finish. Think about it thusly:
- 1 hour to prepare the stock
- 1 hour more if you’re laminating your blank
- 1 day to let the glue set-up if laminating stock
- 1 hour to clean up the blank and transfer the patterns
- 1 hour to cut the rough shape
- 1 hour to shape the shaft
- 1 hours to shape the grip
- 3 hours to shape the blade
- 2 hours to fine-tune it all
- 1 hour sanding to 120 grit
- 30 minutes x’s 4 for a modern finish
- 30 minutes x’s 8 (or more) for a traditional finish
So there you go, that’s pretty much a weekend. And keep in mind that that’s using power tools.
PREPARING the BLANK
By this point you’ll already have chosen whether to build from solid stock or a laminated block. If it’s the latter you’ll need clamps, waterproof glue, and some time for it all to cure.
Regardless, you’ll want to square up the blank. We suggest in our templates that your start with a blank 1 1/8 inch thick. A planer will make this particularly easy, but it could also be achieved with a belt sander or block plane. You’ll know who you are and your style of wood working and no-doubt choose accordingly.
CUTTING the OUTLINE
Whilst it might seem like a band saw would be the tool of choice to cut the rough shape keep in mind that a paddle is a long(ish) thing with a variety of curves and there are few band saws we know of with the clearance on all sides necessary to get the job done.
Use a jig-saw.
Oh, and there’s no shame in cutting outside the lines a tad and using a belt sander to clean things up. No one is watching. Really.
LAYING out YOUR PADDLE
At this point in the process you’ve cut out the plan-view (top-view) of the paddle cut and cleaned it up.
The next important part will be marking up the side views.
I can’t think of a better resource to help you with this than The History of Paddle Design from Canadian Woodworking Magazine:
SHAPING the SHAFT
A builder can use a router with a round over bit; a draw knife and spoke shave; or have at it with an apron plane and sander.
You choose … just keep in mind not to go too far yet; you’ll be tapering the grip and blade into the shaft and will want to leave material in place to finesse the transitions.
At Ashes we make our shafts 1 inch wide and 1 1/8 inches thick.
Complicating the issue is the idea espoused by many experienced builders that there should be NO static dimension; that weight, balance and hand feel are organic in nature and that each part of the shaft should be crafted accordingly.
SHAPING the BLADE
Here, we’ve arrived at the nub.
Shaping the blade is the most rewarding part of the process, but also the part where the most can go awry. The best advice I can impart is to go slow, particularly if using power tools.
There’s a book of wisdom to be written. Instead, I think I’ll link to a number of videos.
The first links to a traditional style of shaping by Ted Moore; it’s contemplative and if I had the time and the temperament it’s what I’d choose. The others show different options and are worthy of a look:
- Shaping a Paddle the Traditional Way
- Using Woodcraft to Shape a Paddle
- Shaping a Paddle Using Standard Shop Tools
SHAPING the GRIP
A grip is a deeply personal thing so I won’t deign to tell you what yours should look like. But, if you’d like some advice on that matter you’ll find some midway down the page at:
And like previously, my advice is to go slow when shaping. That said, you can remove a lot of material from a grip without significantly weakening the paddle itself as most of the forces lie lower down the shaft and on the blade. Don’t be afraid to keep working until it feels right in your hand.

FINE TUNING
This is where the art of the matter comes to hand.
A well tuned paddle will be balanced somewhere near the canoeists lower hand, only he or she can tell you their exact preference. When properly made however, a paddle will fall perfectly into place with each stroke.
A builder should seek to remove enough material from the either the blade or the grip so that the paddle balances at a point just above the shoulders of the blade, right about where his or her hand might land.
TO FIBERGLASS or NOT

We don’t fiberglass our paddles at Ashes unless there’s a particular reason. This might include:
- woods that have an inherent weakness; spalted maple might be an example of this.
- a paddle that will be relied upon during long or extended tripping.
- a paddle that will be used in bony creeks, or moving water and which can be expected to take abuse.
Keep in mind that if you do use glass and epoxy you will still need to coat the paddle with a urethane finish with a UV inhibitor to ensure that the composite doesn’t degrade.
APPLY the FINISH
We’re almost at the end, You’ll now have to choose between a traditional oiled finish, a spar varnish, or an acrylic finish. Your options will be limited to the latter two should you choose to glass your blade.
For my part, I’m a big fan of a traditional finish, the directions and recipe for which can be found here:
What I would also say is that an oil and waxed finish is easier on the callouses at the end of a long day than a varnished or epoxied finish.
![]()
And that I think is that.

“Begin at the beginning and go on till you come to the end: then stop.”
Order Plans
Build a Canoe with Plans from Ashes Still Water Boats
Looking for Something Different?

Choosing Which Canoe to Build | Why Choose a Design from Ashes | What Your Plans Include


